


Elasto Mania Workshop Manager Documentation
This page explains how to upload and share items for Elasto Mania on Steam Workshop.
Each item is an individual mod for the game. It can be a single level or a level pack, a replay, an LGR, etc. On a technical level, an item is a set of files you put in the elma folder.
Items can also require other items. If you create a new level using an existing LGR, you can mark the Workshop Item containing that LGR as required, so people trying your level will surely have it installed.
Install and start the Workshop Manager
Find the Workshop Manager appropriate for the game. You need to look for Elasto Mania Workshop Manager, Elasto Mania II Workshop Manager or Action SuperCross Workshop Manager depending on the game you're working with. This application can be found in the Tools section of Steam.
If you run into any trouble, you can always just close the application and start it again.
Creating a new item
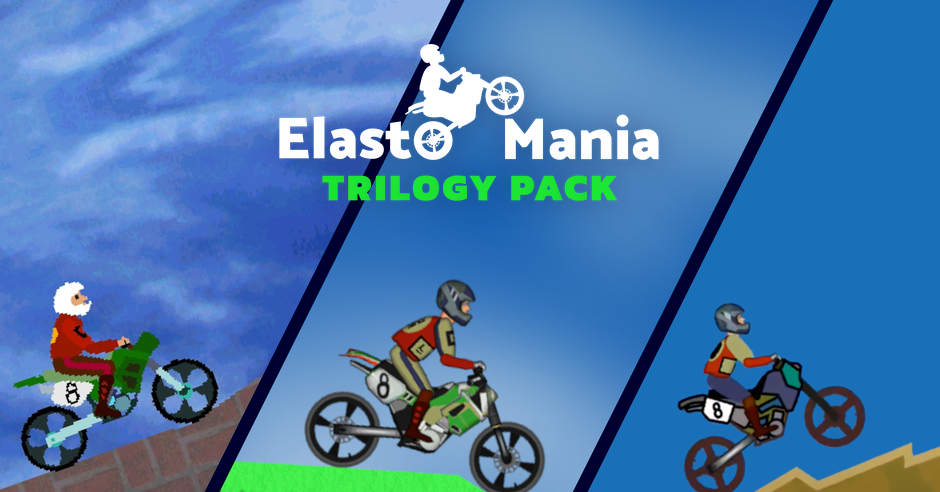
The main menu lets you select existing items to modify, or create new ones.
You can select the option by typing the corresponding number and pressing Enter.
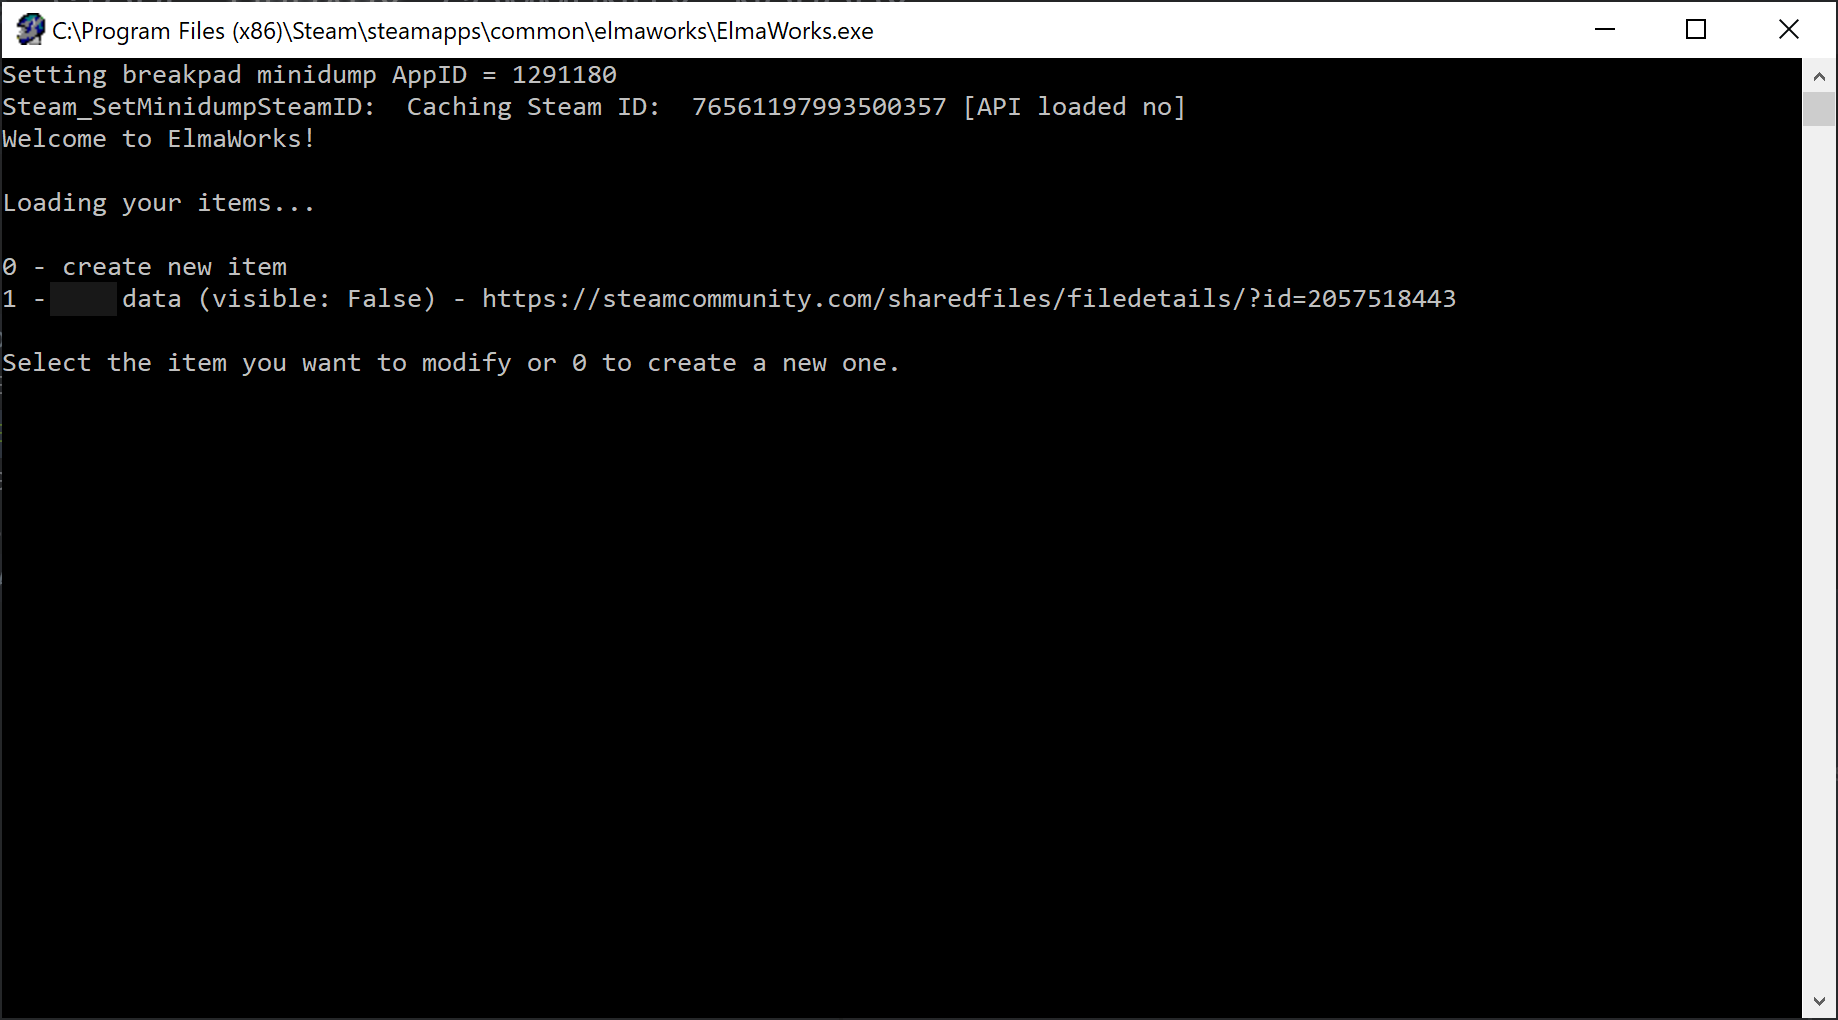
Now create a new item: type 0 and press Enter. The default name for the item is today's date - you can change this later.
Working with your new item
Now that the new item's entry has been created, it's time to populate it. You are back in the Main Menu - so select your new item by typing the corresponding number and pressing Enter.
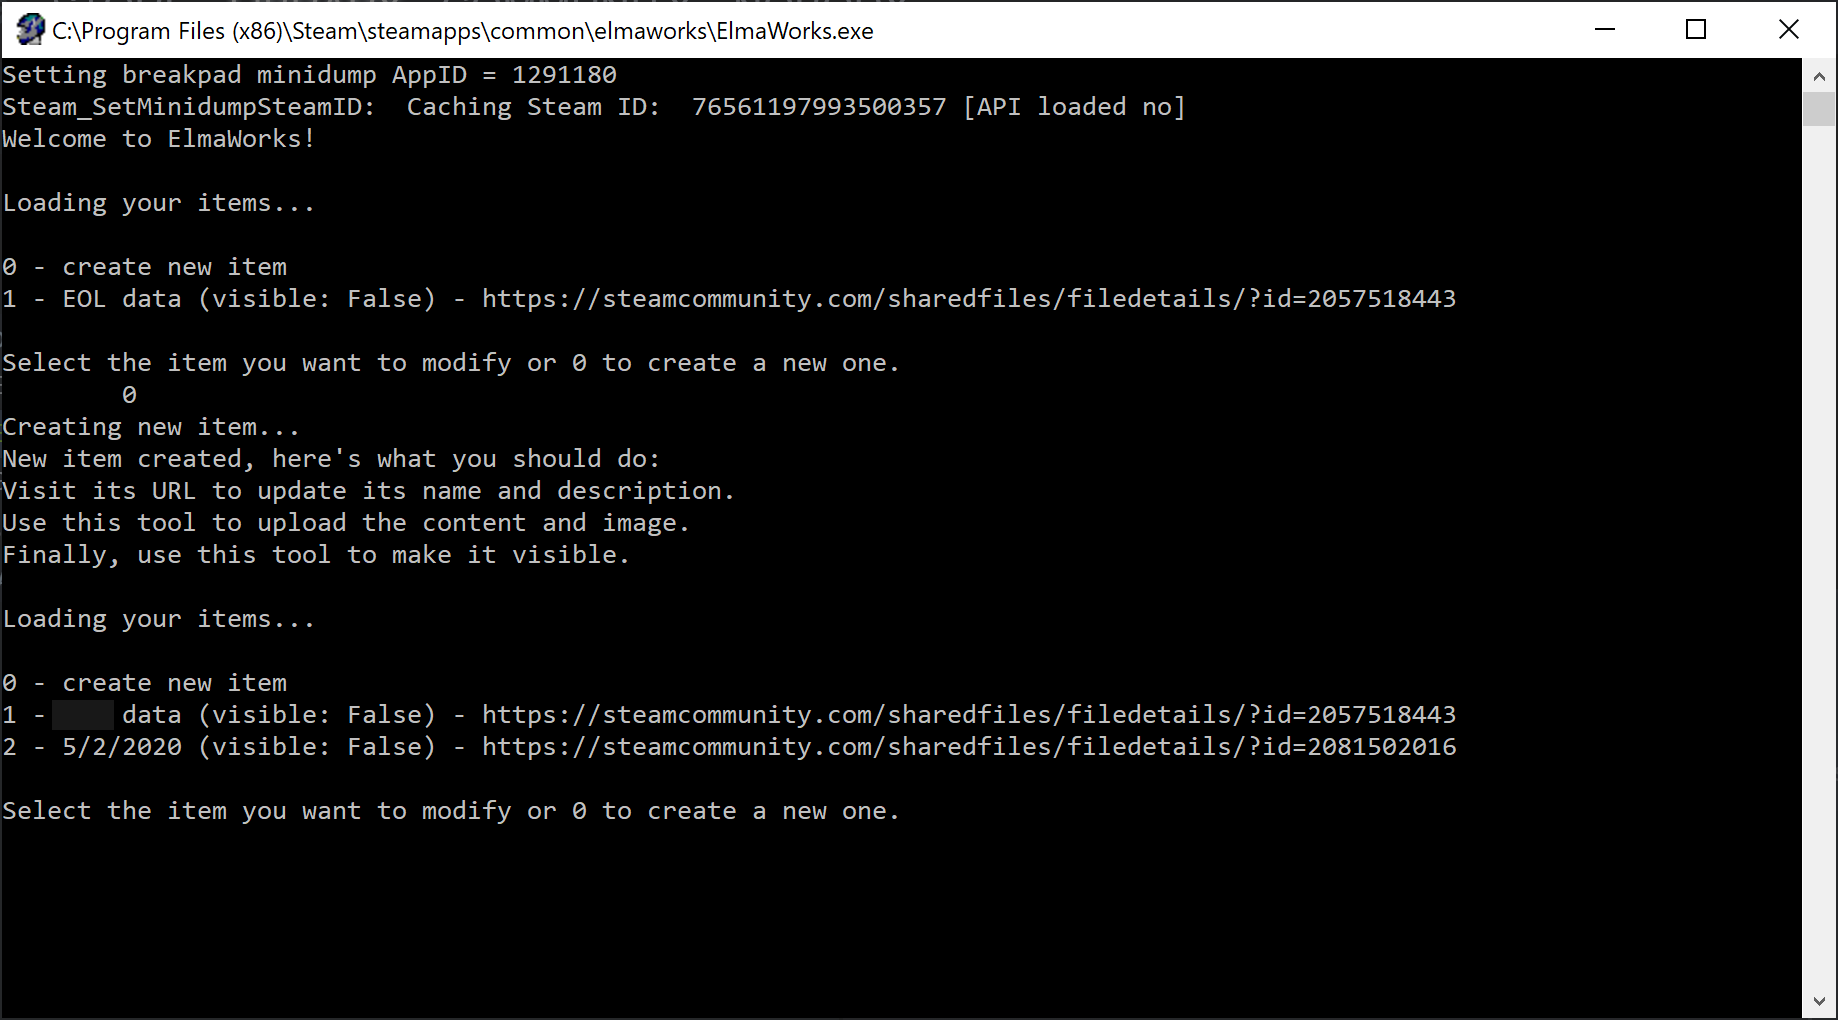
Editing the item
This menu allows you to edit properties of the item.
- set content: uploads the files contained in the item
- set image: uploads the cover image of the item
- flip visibility: makes the item public/private
- open in browser: open the item's page in a web browser to edit further details
For now let's open the item in the browser to edit its name and description.
Type 4 and then Enter to do this.
Editing the item in the browser
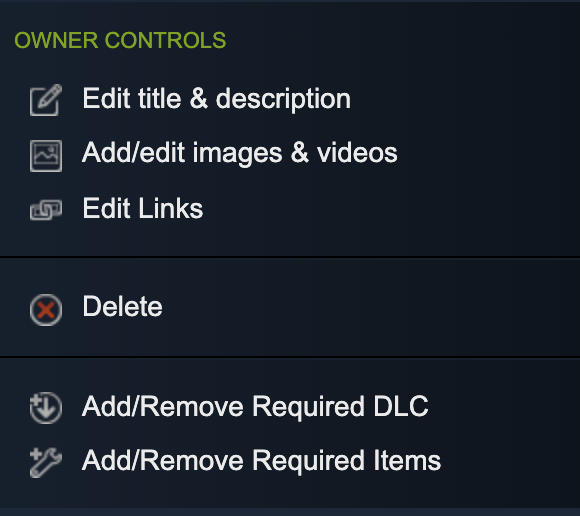
In the opened browser window, you will see a section for Owner Controls. Click Edit title & description to set a proper name and description for your item.
Once you've saved the name and description, go back to the Workshop Manager tool's window.
Setting content and image
Back in the Edit Menu type 1 and press Enter to upload the item's contents.
Select the folder containing the contents. This should contain only the files you wish to upload, relative to the elma root directory.
For example, if you're uploading mynewlevel.lev:
- Create a new, empty folder somewhere on your computer, such as the Desktop (the name of the folder doesn't matter, let's call it xyz )
- Create a lev folder under the xyz folder
- Copy mynewlevel.lev into this newly created lev folder
- Select xyz as the content folder to upload
Once the data is successfully uploaded, type 2 and press Enter to select a cover image.
This can be any image you wish, that represents your creation.
Testing your item
Now that everything is set, you should test your item before publishing. To do this, go back to the item's webpage and click Subscribe.

Now start Elasto Mania on Steam. It will automatically download and activate your new item. Try it out in game!
WARNING: if you're using an item that was already present in your game's folder (such as a level you've already played in game), it's hard to tell if you're testing the local version or the Workshop version. Make sure to remove/rename the old version so that you can try the Workshop version.
Publishing your item
Now that your item is uploaded and tested, it's time to publish it. You can do this using the Elasto Mania Workshop Manager tool, or by clicking the Change Visibility dropdown menu on the item's webpage.
Once your item is public, you're good to go! Share it with your friends and community! You can use the Share button on its webpage, or just share the URL so people can subscribe to it.
